Preparation for Your First Tattoo Session
When gearing up for a tattoo session, one of the most exciting yet challenging aspects is choosing the design and its placement. This stage can set the tone for your entire tattoo experience, so taking the time to thoughtfully consider your options is essential.
Choosing the Design
Selecting a tattoo design goes beyond aesthetics; it’s deeply personal. A well-considered design will not only reflect your personality but also hold significance in your life. Here are some steps to guide you through this process:
- Reflect on Personal Meaning: Consider what symbols, quotes, or images resonate with your life experiences. A meaningful design can enhance your connection to the tattoo itself.
- Research Styles: Familiarize yourself with various tattoo styles, such as traditional, neo-traditional, realism, and abstract. Each style conveys a different emotion and message.
- Sketch and Adapt: Don’t hesitate to sketch your ideas or adapt existing designs. This collaboration can help you find a unique concept that feels just right.
- Gather Inspiration: Use platforms like Pinterest or Instagram to compile a mood board. Visualizing your ideas can help clarify what you truly want.
Considerations for Placement
Once your design is selected, the next step is considering where on your body you want the tattoo placed. Placement can impact not just visibility but also pain levels and long-term care. Here are some key considerations to keep in mind:
- Visibility vs. Concealment: Think about whether you want your tattoo to be visible to everyone or if you prefer a more discreet option.
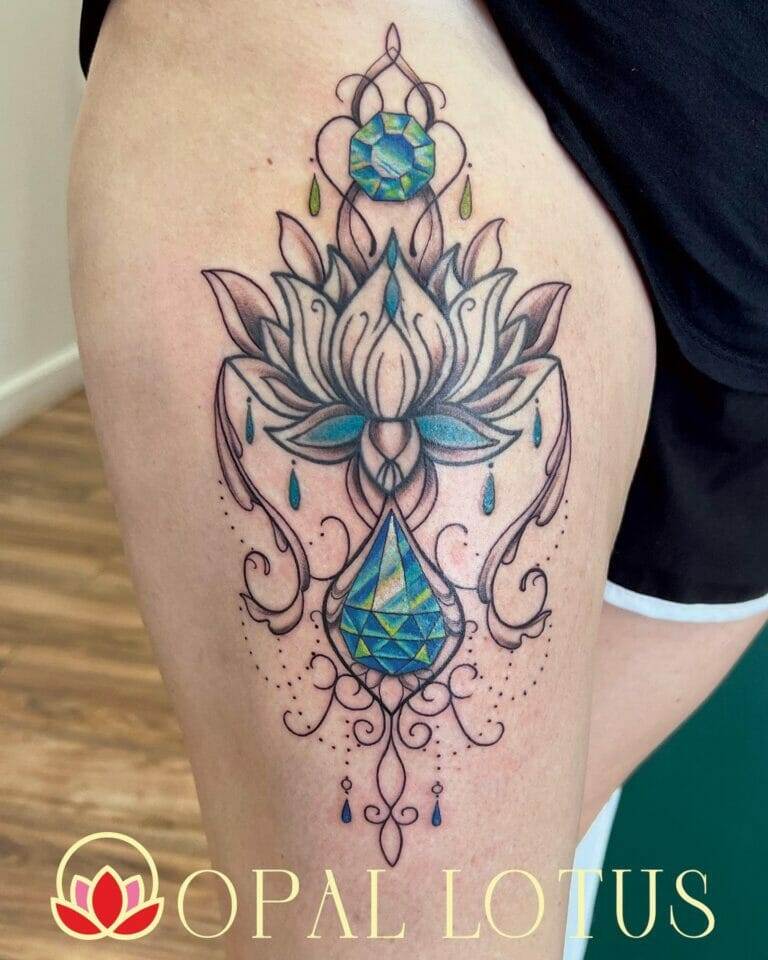
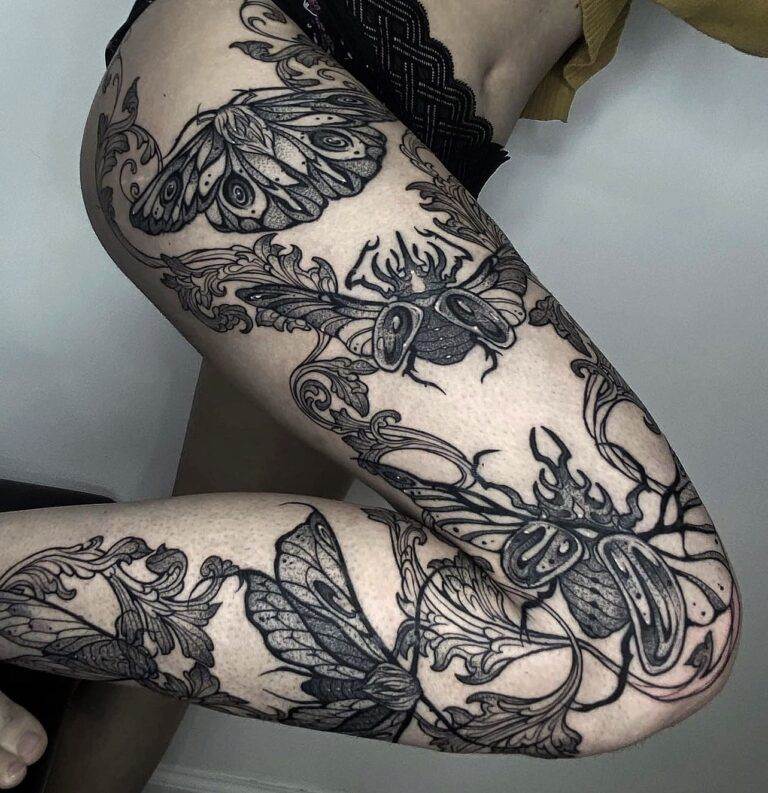
- Size and Detail: The intricacy of your design might necessitate a specific placement. For example, detailed pieces often look better on larger areas like the back or thigh.
- Pain Levels: Some areas of the body are more sensitive than others. Commonly painful spots include ribs and elbows, while areas like the forearm and outer thigh are generally less painful.
- Lifestyle Considerations: If you have a job that requires wearing specific clothing or has policies regarding visible tattoos, placement will be crucial.
Ultimately, both choosing the design and placement are pivotal steps in ensuring your tattoo reflects your individuality and your readiness for this exciting journey. As you prepare for your tattoo session, keep these aspects at the forefront to embrace the experience fully.
Tattoo Studio Etiquette
Having chosen your tattoo design and placement, it’s crucial to familiarize yourself with tattoo studio etiquette, as it not only ensures a smooth tattooing process but also shows respect to the artists and the environment. Understanding the process and communicating effectively with your artist are key elements of this etiquette.

Understanding the Process
Tattooing is an intricate art form that involves several steps, each playing a vital role in achieving a great result. Being aware of the process can demystify any apprehension and help you engage more positively. Here’s a brief overview of what to expect:
- Consultation: Initial discussions often include your design, placement, and any adjustments you may want. This is your chance to ask questions!
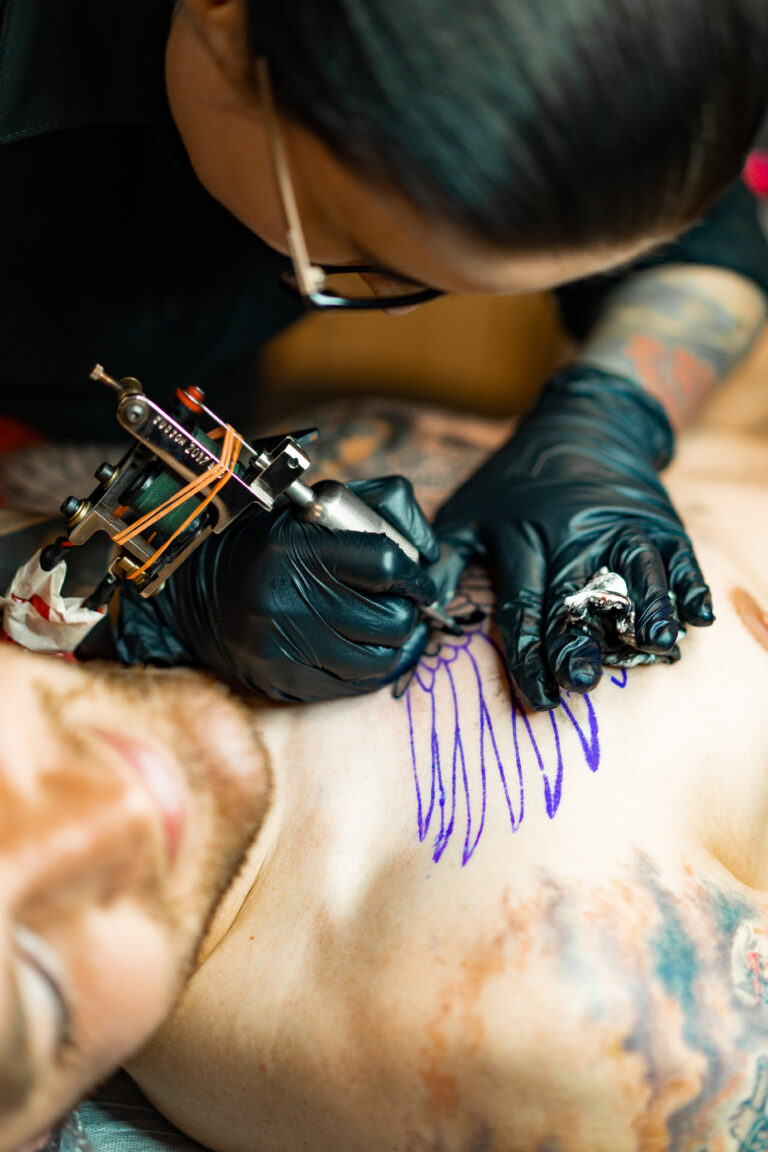
- Stencil Application: The artist will create a stencil of your design and place it on your skin to ensure proper positioning.
- Tattooing: Once you’re happy with the stencil, the artist will begin the tattooing process, which might take anywhere from an hour to several hours, depending on the complexity of the design.
- Final Touches: After the main work is done, the artist will clean the area and provide instructions for aftercare.
Familiarizing yourself with these steps can enhance your experience and reduce anxiety.
Communication with the Artist
Clear communication with your tattoo artist is imperative for achieving the best outcome. Here are some tips to foster effective communication:
- Be Honest About Preferences: Share your thoughts openly about the design, colors, and any concerns you may have.
- Ask Questions: Whether it’s about the tools, ink used, or aftercare procedures, don’t hesitate to ask. A good artist will appreciate your curiosity.
- Listen to Recommendations: Artists often have experience and insights that can enhance your design or placement choice. Their suggestions can come from a place of expertise.
- Stay Calm and Collected: Managing stress is important. If you feel anxious during the session, vocalizing that to your artist can help them provide support.
Engaging in open communication not only helps build trust but also ensures a collaborative atmosphere throughout the tattooing process. By understanding the procedure and maintaining clear communication, you can contribute to a positive experience, making your first tattoo session as enjoyable as it should be.

Pain Management Techniques
As you prepare for your tattoo session, it’s natural to be concerned about the pain associated with the process. However, there are several effective pain management techniques that can help ease discomfort, allowing you to focus on the positive aspects of your experience. Two effective strategies include using numbing cream options and practicing mindful breathing exercises.
Numbing Cream Options
Numbing creams are a fantastic way to minimize discomfort during your tattoo session. These topical anesthetics can help dull the sensation in your skin, making the experience more comfortable. Here are some common options:
- Lidocaine: A popular choice, lidocaine is a local anesthetic that can numb the area for a few hours. It typically comes in cream or gel form and is applied about 30–60 minutes before the session.
- Benzocaine: Although slightly less effective than lidocaine, benzocaine is another alternative. You can find it in various topical formulations that can provide some relief.
- Combination Products: Some numbing creams blend lidocaine, benzocaine, and prilocaine for enhanced effectiveness. These are often favored for larger or more sensitive areas.
Be sure to consult your tattoo artist before using any cream, as they may have specific recommendations or preferences regarding products.
Mindful Breathing Exercises
In addition to topical anesthetics, mindful breathing exercises can significantly help in managing pain and anxiety during your tattoo session. Engaging in deep, focused breathing can calm your nerves and create a sense of relaxation. Here are some techniques you can try:
- Diaphragmatic Breathing: Inhale deeply through your nose, allowing your abdomen to expand rather than your chest. Hold the breath for a moment, then exhale slowly through your mouth. Repeat this for several cycles, focusing on your breath and the present moment.
- 4-7-8 Method: Inhale for a count of four, hold your breath for a count of seven, and exhale slowly for a count of eight. This technique helps to regulate your heart rate and promote relaxation.
- Visualization: As you breathe, visualize a calm landscape or a soothing color. This mental imagery can distract you from pain and aid in relaxation.
Incorporating these pain management techniques will enhance your overall tattooing experience, making it less daunting and more enjoyable. By combining numbing cream options with mindful breathing exercises, you’ll be better equipped to face your tattoo session with confidence and ease.
Tattoo Session Process
Having prepared yourself with pain management techniques, it’s time to dive into the actual tattoo session process. This stage is where your vision comes to life and can often feel both exhilarating and nerve-wracking. Understanding what to expect during the stencil placement and the tattooing process can help ease any anxiety.
Stencil Placement
Before the buzzing sounds of the tattoo machine commence, the artist will apply a stencil of your design to your skin. This step is essential, as it serves as a blueprint for the tattoo. Here’s what typically happens:
- Skin Preparation: The artist will clean and shave the area where the tattoo will be placed. This ensures a clean surface for the stencil application.
- Application of the Stencil: Using a specialized stencil solution, the artist will carefully transfer your design onto your skin. They will position it according to your preferences, ensuring it’s aligned and centered correctly.
- Adjustment and Feedback: Take this opportunity to assess the stencil. If something doesn’t feel right, this is the moment to communicate your preferences. The artist will be happy to make adjustments before commencing the tattooing process.
Tattooing Process Explained
Once the stencil is applied and you’re satisfied with its placement, the artist will begin the tattooing process. This part can vary significantly based on factors like the size and complexity of your design. Here’s a rundown of what you can expect:
- The Sound of the Machine: When the tattoo machine starts up, you’ll hear a consistent buzzing sound. This can be intimidating for some, but it’s just part of the process.
- The Sensation: As the needle makes contact with your skin, you’ll feel a scratching or stinging sensation. This is where the pain management techniques, like numbing cream and mindful breathing exercises, come into play.
- Artist’s Technique: Depending on the design, the artist may start with outlining, shading, or color work. It’s a meticulous process requiring concentration and skill.
- Periodic Breaks: Throughout the session, the artist may check in with you, offer breaks, and ensure you’re comfortable. Don’t hesitate to voice any discomfort or if you need a moment.
Understanding the tattoo session process, from stencil placement to the actual tattooing, can alleviate some of the nervousness. By being an active participant in the experience, you pave the way for not just a beautiful tattoo but a memorable journey as well.
Aftercare Instructions
Congratulations on successfully completing your tattoo! While the experience itself is rewarding, the next crucial phase involves taking care of your new ink. Proper aftercare can significantly influence the healing process and the final appearance of your tattoo. Here are essential aftercare instructions to keep in mind.
Cleaning and Moisturizing
Keeping your tattoo clean and moisturized is fundamental for optimal healing. Here’s how to do it correctly:
- Initial Cleaning: Right after your session, the artist will typically cover the tattoo with a bandage or plastic wrap. Leave this on for the recommended time (usually a few hours) to protect the area. Once removed, wash your hands thoroughly and gently clean the tattoo with mild, fragrance-free soap and lukewarm water.
- Pat Dry: Gently pat the area dry with a clean towel or let it air dry. Avoid rubbing your tattoo, as this can irritate the skin.
- Moisturizing: After the area is dry, apply a thin layer of a recommended moisturizer or tattoo aftercare ointment. Look for products that are fragrance-free and non-comedogenic to prevent clogging pores.
- Frequency: Reapply moisturizing ointment 2–3 times a day for the first week, then switch to a regular fragrance-free lotion for ongoing hydration. Keeping the tattoo moisturized helps prevent dryness and peeling.
Avoiding Sun Exposure
Sun exposure can have detrimental effects on your new tattoo, making this a critical consideration in your aftercare routine. Here’s how to protect your ink:
- Immediate Protection: In the first few weeks, keep your tattoo out of direct sunlight. Cover it with loose-fitting clothing when going outside to minimize exposure.
- Use Sunscreen: Once your tattoo is fully healed (typically around two to four weeks), apply a broad-spectrum sunscreen with an SPF of at least 30 on the tattoo. This helps protect the colors from fading and maintain vibrancy.
- Long-term Care: Even after healing, continue using sunscreen whenever exposing your tattoo to the sun. This will help preserve its appearance for years to come.
By following these aftercare instructions—cleaning and moisturizing regularly while avoiding sun exposure—you can ensure that your tattoo heals beautifully and remains a source of pride. Consistency in caring for your new ink will not only enhance its longevity but also allow you to enjoy your tattoo to the fullest.


