Introduction
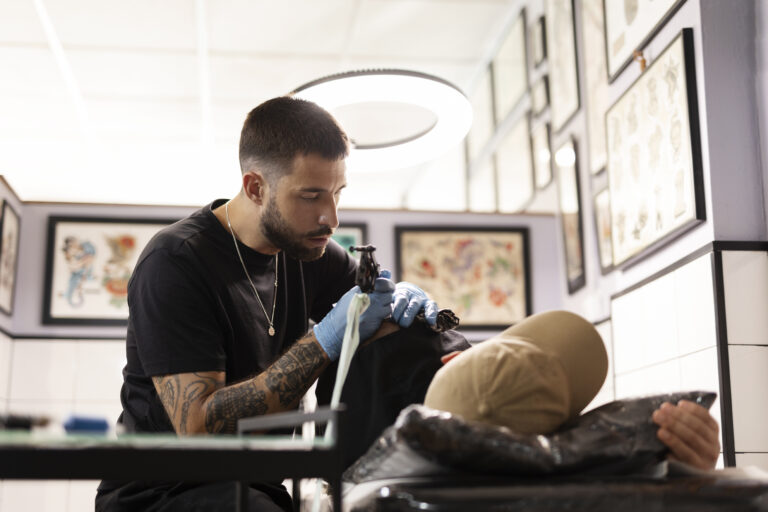
When it comes to getting a tattoo, the journey begins long before the needle touches the skin. Preparation is key to ensuring that the tattoo experience is positive and that the final piece meets your expectations. This article will delve into the importance of preparation, the selection of an appropriate tattoo artist, and the subsequent steps involved in making a well-informed decision.
Importance of Preparation
Preparation plays a vital role in the tattoo process for several reasons:
- Reduces Anxiety: Knowing what to expect can help alleviate pre-tattoo jitters.
- Enhances Decision Making: Being prepared allows individuals to make thoughtful decisions about design, placement, and artist selection.
- Ensures Safety: Taking time to research proper hygiene practices and aftercare reduces the risk of complications.
Think of preparation as laying a foundation; without it, the entire experience may feel shaky and uncertain. A well-prepared client not only contributes to a smoother process but also helps ensure the final result is as envisioned.
Choosing a Tattoo Artist
One of the most crucial steps in the preparation process is selecting the right tattoo artist. An artist’s skill, style, and professionalism can significantly impact the outcome of your tattoo. Consider the following pointers when choosing an artist:
- Research their Portfolio: Look for artists who specialize in the design style you desire. Whether it’s traditional, realism, or geometric, finding an artist whose previous work resonates with you is essential.
- Read Reviews: Client testimonials can provide insight into the artist’s reliability and the quality of their work.
- Ask About Sterilization Practices: Ensure that the artist follows strict hygiene guidelines to provide a safe environment.
- Book a Consultation: Meeting with the artist in person can help to build rapport and clarify any concerns about your design or placement.
In sum, the groundwork you lay through preparation and artist selection is fundamental to ensuring that the tattoo you choose is not only safe but also a reflection of your unique personality and style.
Planning Your Tattoo
Once you have taken the necessary steps to prepare and chosen the right tattoo artist, it’s time to delve into the exciting phase of planning your tattoo. This involves a thoughtful process of design selection and placement considerations, both of which can significantly influence how your tattoo will turn out and how you’ll feel about it in the long run.
Design Selection
Choosing the design for your tattoo is a deeply personal experience. It’s not just about aesthetics; it’s about meaning and representation. Here are some things to keep in mind when selecting your design:
- Personal Significance: Consider designs that resonate with your life experiences, beliefs, or passions. Tattoos can serve as powerful reminders or expressions of personal milestones.
- Style Variations: Familiarize yourself with different tattoo styles, such as:
- Traditional: Bold lines and bright colors.
- Realism: Detailed and lifelike representations.
- Watercolor: Soft edges and fluid colors.
- Sketching and Customization: Don’t hesitate to collaborate with your artist for a custom design. Many artists appreciate combining your ideas with their expertise for something truly unique.
Keep in mind most artists will show the artwork at the time of appointment. Typically adjustments can be made but never a change of concept.


Placement Considerations
Once you’ve zeroed in on the design, it’s essential to think about where it will be placed on your body. The right placement can enhance the visual impact and personal significance of your tattoo. Here are factors to consider:
- Visibility: Decide if you want your tattoo to be easily visible or more private. Relationship dynamics, workplace policies, and even cultural contexts can influence this decision.
- Pain Level: Different body areas have varying sensitivity levels. Areas like ribs and feet tend to be more painful than those with more flesh, such as the upper arm or thigh.
- Future Changes: Keep in mind that body changes over time, including weight fluctuations and aging. Choosing a spot that’s less prone to drastic changes can keep your tattoo looking great for years to come.
Contemplating these aspects ahead of time not only helps refine your vision but also empowers you to make informed choices about your tattoo journey. By thoughtfully selecting your design and considering placement, you set the stage for a tattoo that you will love and cherish.
Preparing for Your Session
It’s time to shift focus to the final preparations before your session. Ensuring proper hygiene practices and good skin care will not only make your experience smoother but also contribute to the quality of the tattoo and the overall healing process.
Proper Hygiene Practices
Maintaining a clean environment and practicing good personal hygiene before your tattoo session is essential. Here’s what you should keep in mind:
- Shower Before Your Appointment: Clean skin provides a fresh canvas for the tattoo artist and helps prevent possible infections. Avoid heavy lotions or fragrances; simple soap works best.
- Trim Hair: If your tattoo is going to be in a hairy area, consider trimming the hair to allow for better line work. However, leave shaving to the artist, as they typically have specific tools and techniques to minimize irritation.
- Avoid Alcohol and Drugs: These substances can thin your blood, leading to increased bleeding during the session, which can affect the quality of the tattoo. Aim to stay sober 24 hours prior to your appointment.
Skin Care Tips
Proper skin care is equally important in preparing for your tattoo session. Healthy skin not only helps the tattoo process but also contributes to how well your tattoo heals and looks in the long run. Here are some tips:
- Stay Hydrated: Drink plenty of water leading up to your appointment. Hydrated skin tends to heal better and makes the tattooing process easier.
- Moisturize: Regularly applying a gentle, unscented moisturizer a few days before your session can help keep your skin supple. Just be careful not to apply anything on the day of the tattooing.
- Sun Exposure: Avoid excessive sun tanning or tanning beds in the days leading up to your appointment. Sunburned skin can be painful and may compromise the tattooing process.
Incorporating these hygiene practices and skin care tips ensures that you approach your tattoo session with confidence. By prioritizing cleanliness and skin health, you create the perfect conditions for your tattoo, enabling the artist to perform at their best and maximizing your comfort during the process. With preparation complete, you are ready to embrace this exciting next chapter in your tattoo journey.
eat a meal
It’s important and helpful for your blood sugar to remain consistent during the session. Eating a within an hour of your appointment and during breaks will help stabilize your body.
- Eat withing an hour: Try to eat as close to the appointment as possible.
- Chose healthy foods: Go for a balanced meal made of protein and healthy carbohydrates. Something substantial that will also make you feel more relaxed.
- All day session?: Bring a lunch box meal or order delivery to the shop! We have a designated area for clients to eat and take a quite break for long sessions.
During the Tattoo Session
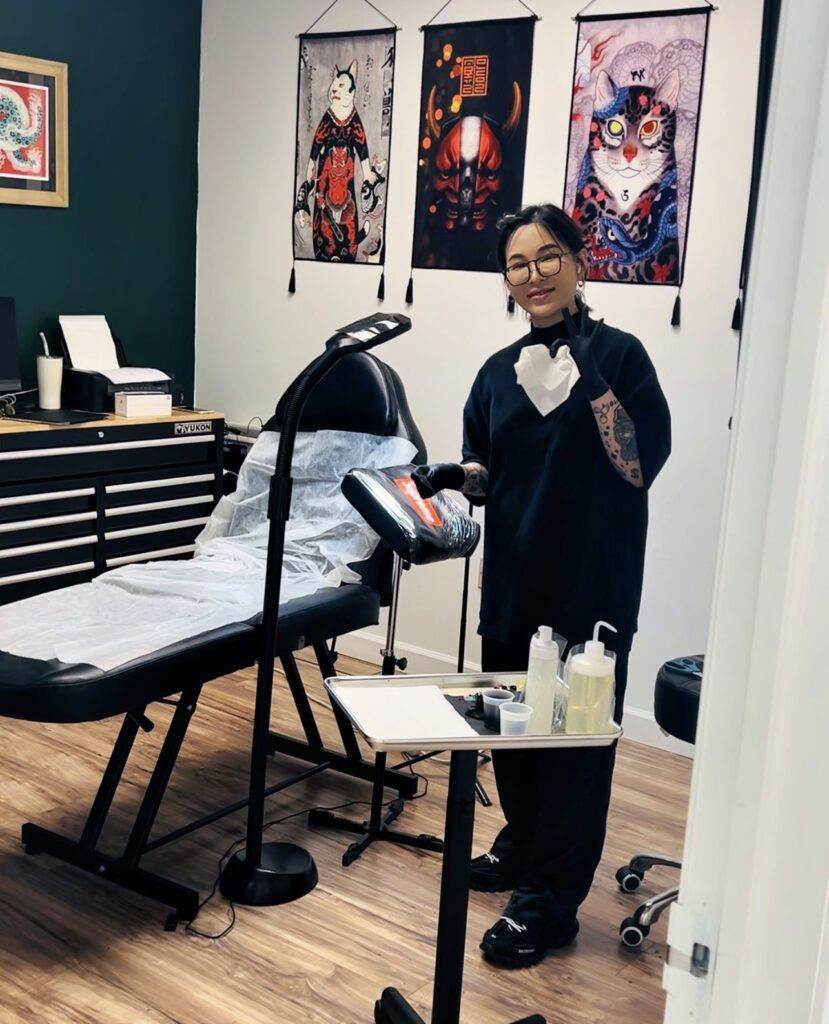
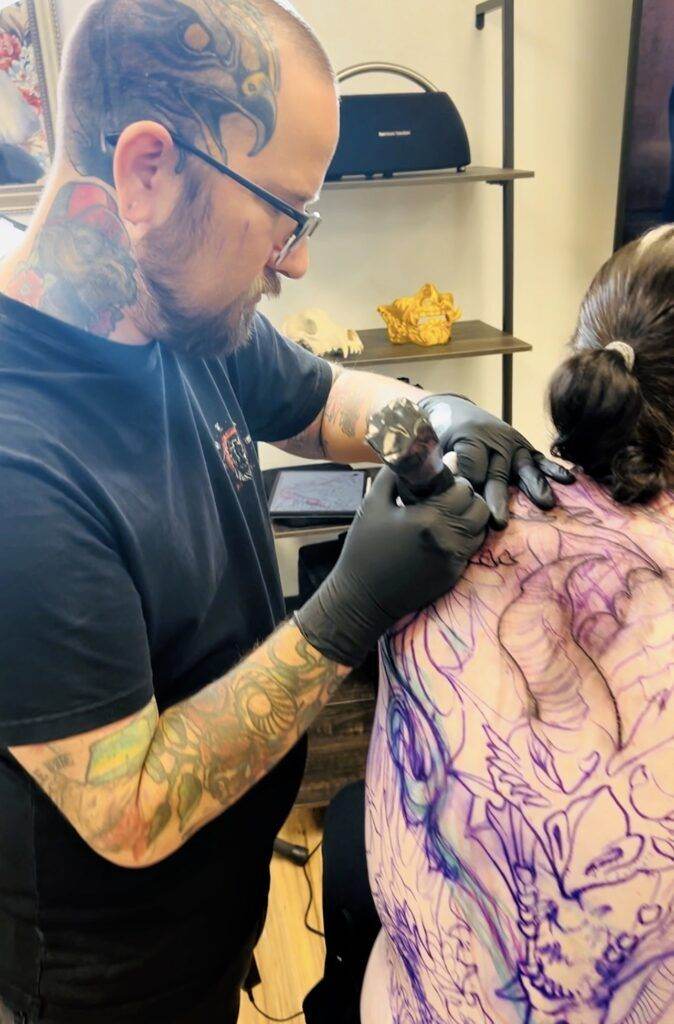
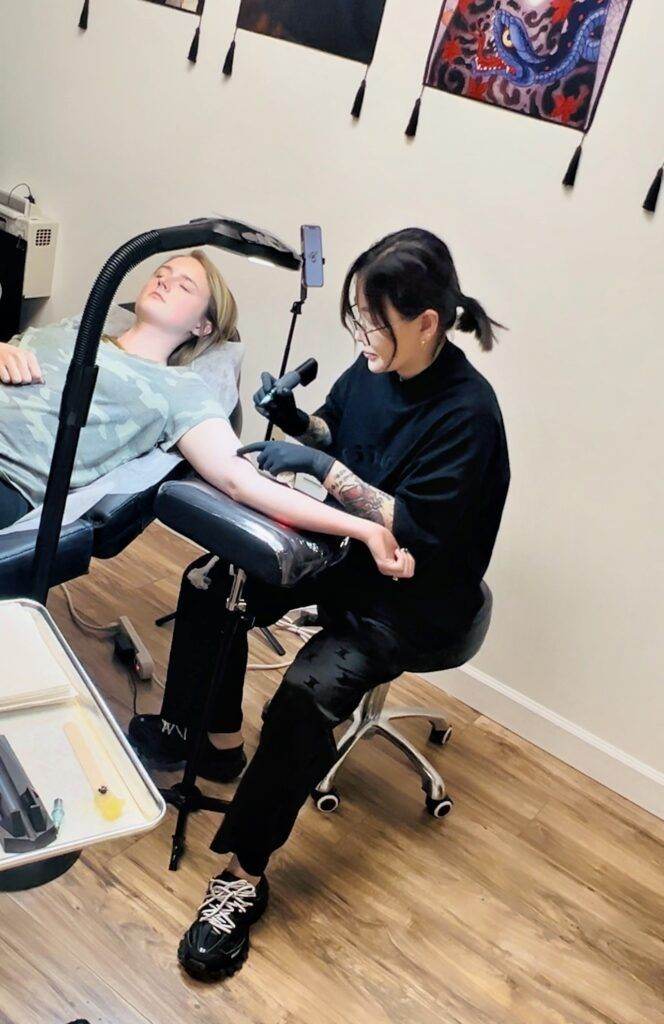
As the day of your tattoo session arrives, excitement and nervousness often coexist. Understanding how to manage pain and effectively communicate with your artist can significantly enhance your experience.
Managing Pain
Pain tolerance varies from person to person, and it’s essential to have a strategy for managing discomfort during the tattooing process. Here are a few tips to consider:
- Mental Preparation: Familiarize yourself with the potential pain levels of the specific area being tattooed. Areas with more flesh, like the outer arms or thighs, typically hurt less than bony areas like the ribs or spine.
- Breathe and Relax: Focusing on your breathing can help mitigate pain. Deep, controlled breaths can calm your nerves and distract from the discomfort.
- Pain Relief Options:
- Topical Numbing Cream: Discuss with your artist if using a numbing cream is a suitable option. Many provide this as part of the service.
- Ibuprofens or Aspirin: If you are physically able taking some over the counter pain meds will do minimal blood thinning effects but help with swelling and pain management.
- Distraction Techniques: Bring along headphones to listen to music, podcasts, or audiobooks. This can help divert your mind during the session.
- Take Breaks: Don’t hesitate to ask for short breaks if you need to regroup. A moment to stretch or breathe can be refreshing and help you persevere through the process.
Communicating with Your Artist
Clear communication with your tattoo artist is critical for achieving your desired outcome. Here are some essential elements to consider:
- Express Your Comfort Level: Let your artist know how you’re feeling throughout the tattooing process. If something feels off, don’t hesitate to voice your concerns.
- Stick to the Plan: While it’s fine to adjust as needed, remember to keep the primary design and placement in focus. If you experience sudden changes in vision for your tattoo, discuss it quickly and openly with your artist.
- Ask Questions: If there’s anything you’re unsure about, ask! Queries about technique, aftercare, or steps in the tattooing process demonstrate your interest and can put your mind at ease.
By being proactive about pain management and maintaining open lines of communication, you can enhance your tattoo session experience. This is a significant moment in your tattoo journey, and making the most of it will help ensure that you walk away feeling satisfied and proud of your new artwork.
Aftercare Instructions
Now that you have successfully completed your tattoo, the next important phase is aftercare. Proper aftercare is crucial for ensuring that your tattoo heals well and retains its beauty. Following the right practices can mean the difference between a vibrant piece of art and one that fades or becomes damaged. Let’s break down the essential aftercare steps, starting with cleaning and moisturizing.
Cleaning and Moisturizing
Taking care of your tattoo begins immediately after the session. Here’s a concise guide to cleaning and moisturizing:
- Initial Cleaning: Once you’re home, carefully remove any bandaging your artist applied. Gently wash the tattooed area with lukewarm water and a mild, unscented soap. Avoid using loofahs or washcloths—just your clean hands will do.
- Pat Dry: After cleaning, gently pat the area dry with a clean, soft towel. Avoid rubbing, as friction can irritate the skin.
- Moisturizing: After the tattoo has dried, apply a thin layer of an approved aftercare ointment or a fragrance-free moisturizer. Key points to remember are:
- Products to Consider: Look for products specifically designed for tattoo aftercare or natural options like coconut oil. Avoid petroleum jelly, which can clog pores.
- Frequency: Moisturize your tattoo several times a day, especially in the first few days. This keeps the skin hydrated and encourages healing.
Avoiding Sun Exposure
Protecting your new tattoo from the sun is vital in the healing process. Sun exposure can lead to fading and can cause damage to the healing skin. Here are some essential tips:
- Direct Sunlight: For the first few weeks, it’s best to avoid direct sun exposure completely. If you must go outside, cover your tattoo with loose clothing.
- Sunscreen: Once your tattoo has healed (usually around 2-4 weeks), apply a high-SPF, broad-spectrum sunscreen when exposed to the sun. This will help preserve the vibrancy of the colors and prevent fading.
- Indoor Solutions: Even if you’re indoors, avoid prolonged exposure to tanning beds or windows with direct sunlight, as UV rays can still penetrate and cause damage.
By adhering to these aftercare instructions, including thorough cleaning, moisturizing, and sun protection, you ensure that your tattoo heals properly and remains stunning for years to come. After all, you’ve invested in not just an artwork on your skin, but a permanent piece of your identity. Taking great care of it is the best way to honor that decision.
Tattoo Touch-Up Process
Once your tattoo has healed, the journey doesn’t necessarily end there. Some tattoos may require a touch-up to ensure that the colors are vibrant and the lines are crisp. In this section, we’ll delve into understanding the healing process and how to schedule those all-important follow-up appointments.
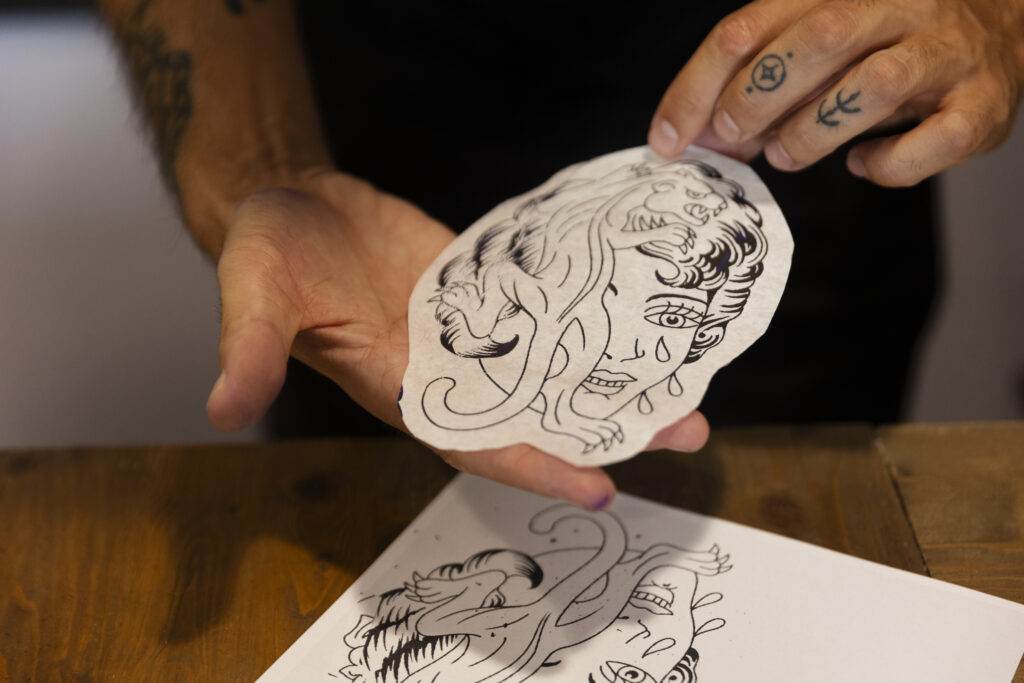
Understanding the Healing Process
After getting your tattoo, the healing phase is vital for your skin and your artwork. Understanding what happens during this time will help you recognize when a touch-up might be necessary:
- Initial Healing Stages: Typically, the healing process occurs in several stages:
- Days 1-3: The tattoo looks fresh and may appear bright. Some swelling and redness are normal.
- Days 4-7: Peeling occurs as the outer skin flakes off. It’s essential not to pick at the scabs, as this could affect your tattoo’s appearance.
- Weeks 2-4: The tattoo fades a bit as it heals fully, and the skin starts to regain its texture.
- Final Appearance: After about four weeks, the tattoo should settle into its final appearance. At this point, you’ll be able to notice whether any areas require a touch-up due to fading or unevenness.
Scheduling a Follow-Up Appointment
Once you’ve assessed the healing of your tattoo, the next step is scheduling a touch-up if needed. Here’s how to go about it:
- Timing is Key: Most artists recommend waiting at least two to four weeks after your tattoo has healed before scheduling a touch-up. This allows for proper healing and evaluation of the tattoo’s final look.
- Contact Your Artist: Reach out to your original tattoo artist for a follow-up appointment. Many artists offer free touch-ups within a specific timeframe after the initial tattoo, so check your agreement.
- Be Clear About Expectations: When scheduling, communicate your concerns clearly. Whether it’s a specific area needing attention or an overall enhancement, being thorough ensures your artist knows your vision.
- Prepare for the Session: Just like your initial appointment, follow the proper aftercare guidelines leading up to your touch-up. This will help your skin be in the best condition for the tattooing process.
By understanding the healing process and scheduling a follow-up appointment when necessary, you can maintain the beauty and integrity of your tattoo. Touch-ups are a common part of the tattoo journey and reinforce the commitment to showcasing your artwork in its best light. Whether it’s enhancing details or refreshing colors, the right aftercare ensures you’ll love your tattoo for years to come.

